
Do you need to get information directly from your customers? Have your customers requested a mobile-friendly form for their form submissions? Do you find it tedious to enter this information into your Claris FileMaker system? Then this Jotform integration is exactly what you need.
Jotform is a cloud-based tool where you can send and receive multiple submissions for the same form. Also, submission management is simple and intuitive. In this article, we’ll show you how to integrate Jotform with your Claris FileMaker system.
Our goal is to demonstrate how Jotform can bring a clean, professional experience to your customers while streamlining your internal data collection process. This can ultimately increase satisfaction both within and outside the office.
Getting Started
First, let’s make a Jotform account if you do not already have one. Navigate to https://www.jotform.com to get started with a free account. You can also visit https://www.jotform.com/pricing for more information on pricing if you start to hit the upper limits of the free package.
Next, navigate to “My Forms”. We’ll go ahead and create a new form. We’ll keep it basic by choosing an existing template, and we’ll choose the “New Customer Registration Form”.

New Form and Jotform Basics
Now we’re on the form setup page. Let’s select the “How did you hear about us?” question and select the properties cog to show more options. Click the “options” tab, and let’s change some of the drop-down items. I’ll replace the “Internet” option with “Google Search”, then add a “Referral” option.
In the top left, you’ll see the “Add Form Element” button. Click on that and add a new entry field, specifically for referrals. Drag and drop the “short text” option below the “please specify” question. Let’s select the field, hit the cog icon, and make some quick changes to ensure it looks clean:
Update the question to “Referral Name”
Click the “required” toggle
Click the “advanced” tab and select the “shrink” toggle to “on”
Check to make sure the Unique Name for this field is “referralName”
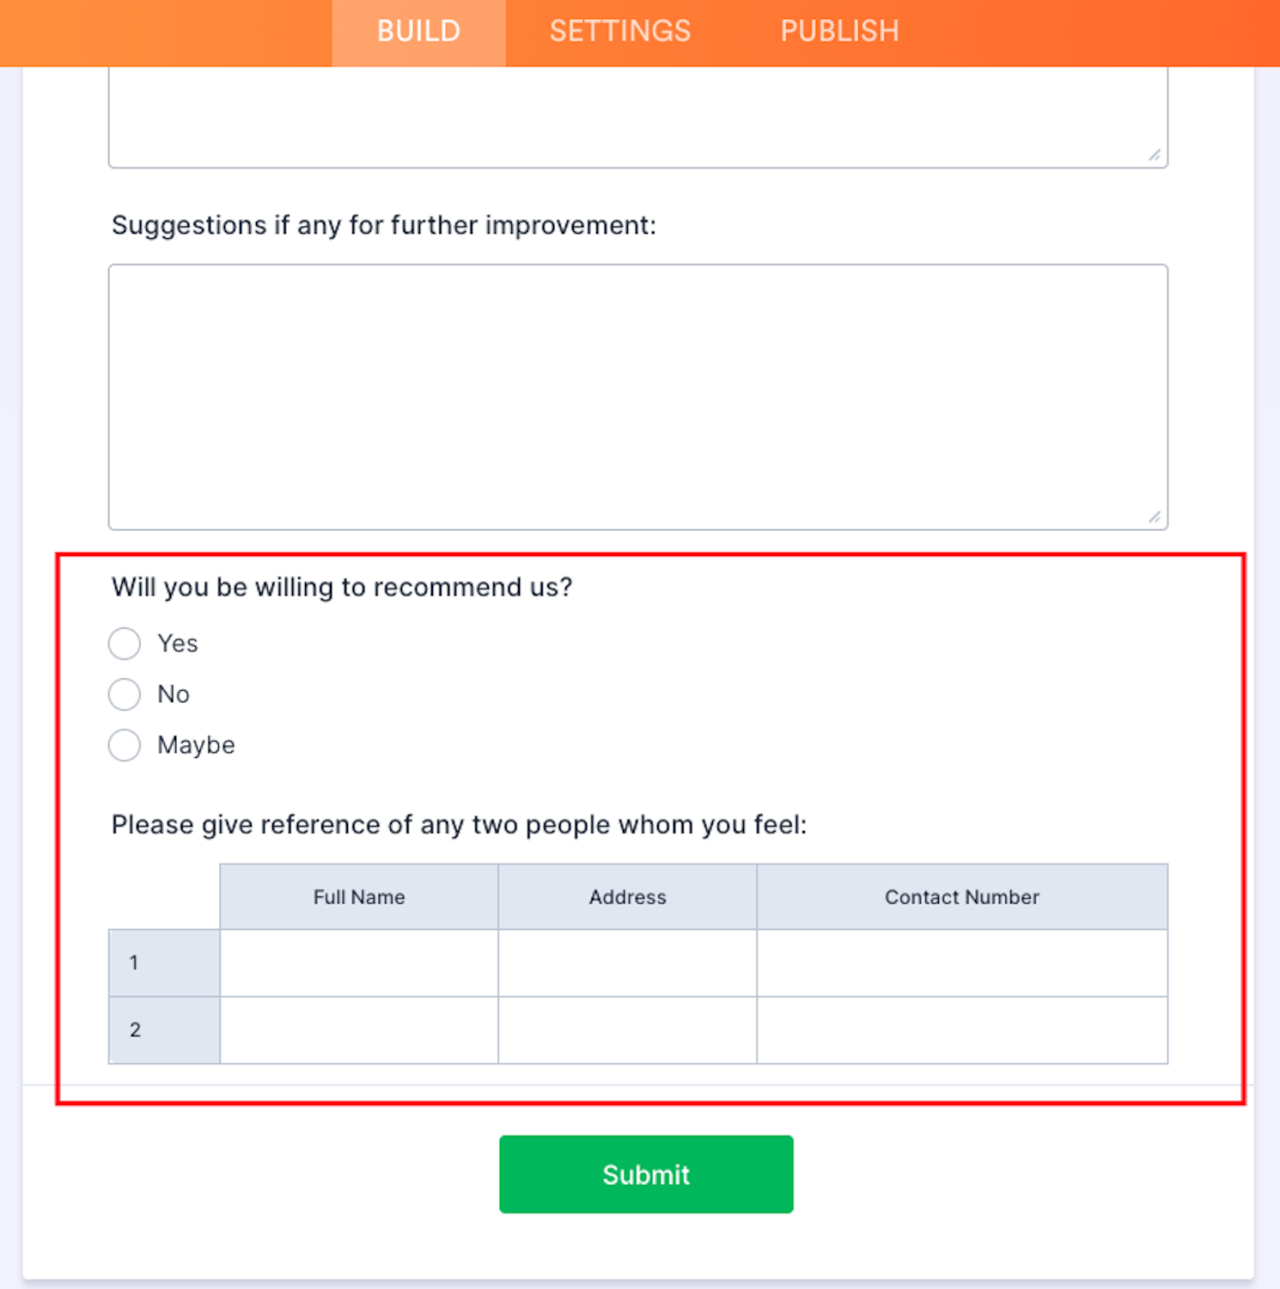
For simplicity’s sake, we removed the bottom section of the template with the recommendations.
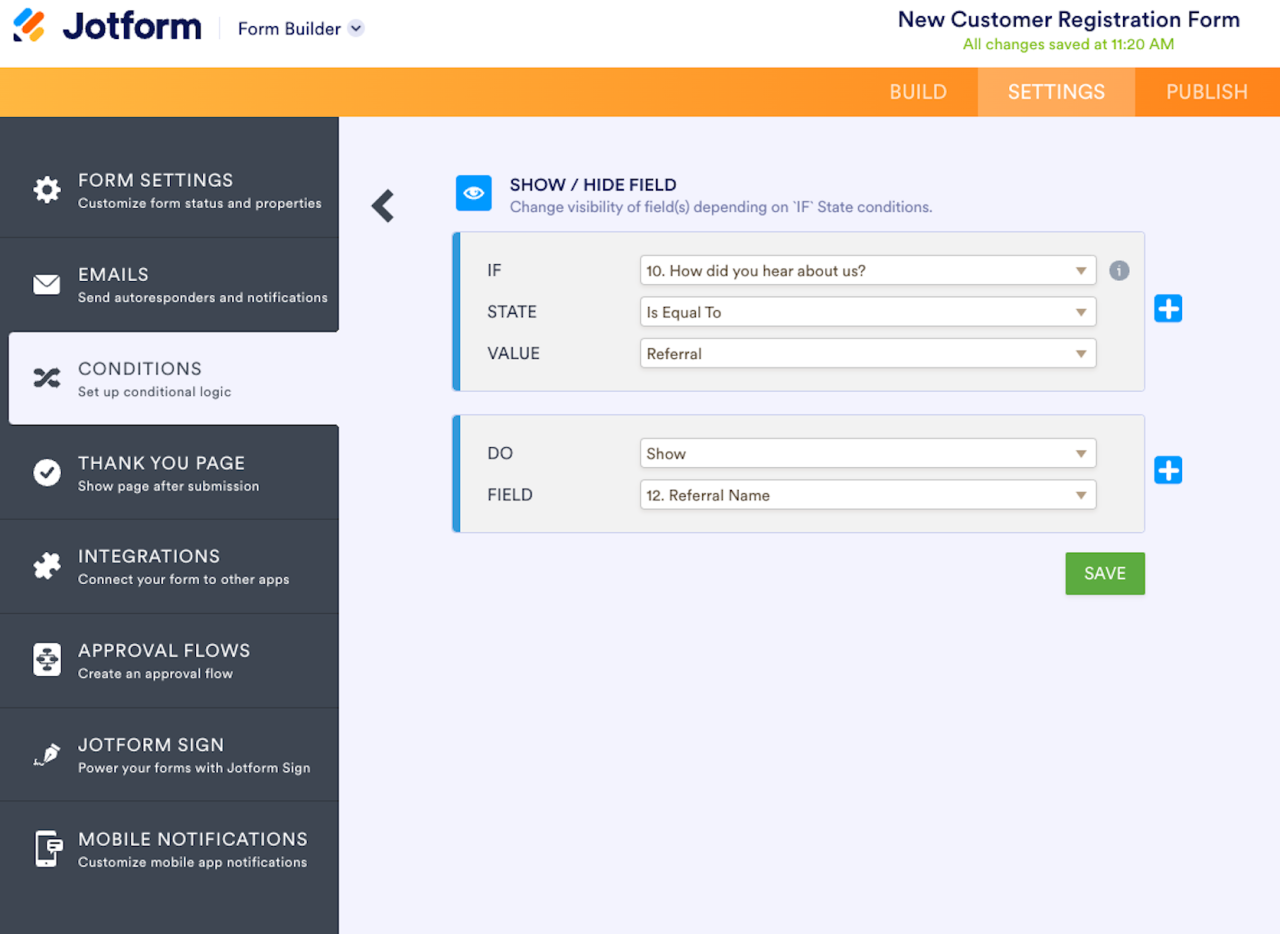
Conditional Logic
A great feature of Jotform is the ability to show or hide certain fields based on conditional logic. The template we selected already has this built-in, but we’re going to add another for the referral.
Right-click the “Referral Name” field, and click the “conditional logic” option
Add a new condition
Show the Referral Name field if the option is selected in the previous drop-down
Now click the “Preview Form” button in the top-right corner. You can now test out this new field and make sure it only shows when the user selects the “referral” option in the previous question’s drop-down.
Integration Setup
Let’s go back to the form builder and select the first field. From here, select the field’s properties. Click the “advanced” tab, and click the field details. You can see the unique name for the field. We’ll need to know this information when Jotform sends data to the FileMaker system.
Next, follow this guide on generating an API key. We’ll need this in order to pull information from Jotform.
https://www.jotform.com/help/253-how-to-create-a-jotform-api-key
Copy the key. Let’s open the FileMaker example file so we can add the key. On the setup page, paste the API key. You’ll also need the form ID. You can get this from the form URL itself. For example, my form URL was “https://www.jotform.com/build/231973943636169”, so the form ID is “231973943636169”. Paste this into the example file, then hit the “save” button. This will take you to the contacts screen.
Jotform Submission and Sync
Let’s go back to the Jotform site and hit “preview form”. In the top left, you can open the form and respond to it as if you’re a customer. Once you submit, you’ll receive an email confirming the submission.
Now let’s go back to the example file and click the yellow button to sync the latest submission. This will insert a new contact and fill out the information based on your recent submission.
Once you receive the JSON information from Jotform, you can customize how you receive the information and each field mapping. Please reference the example file or video for more detailed information.
Conclusion
The Jotform platform gives businesses the ability to receive information directly from the customer in a professional manner. Integrating it with your Claris FileMaker system can streamline your process, letting your organization focus on what matters most. If you’re interested in integrating Jotform with FileMaker, contact us at DB Services and we’d be happy to help.
Did you know we are an authorized reseller for Claris FileMaker Licensing?
Contact us to discuss upgrading your Claris FileMaker software.
Download the Claris FileMaker Jotform Integration File
Please complete the form below to download your FREE FileMaker file.