It’s been a long time coming. FileMaker Inc. has revamped, redesigned and reengineered the scripting and calculation environment in FileMaker 14, modernizing the development experience, reducing the learning curve for new developers, and increasing the productivity of everyone. This new environment, the Script Workspace, is the biggest change to a FileMaker developer’s day-to-day job in recent memory. And it is a welcomed change indeed. Let’s dive into what the new Script Workspace brings to both the seasoned and new developer alike.
Redesigned UI
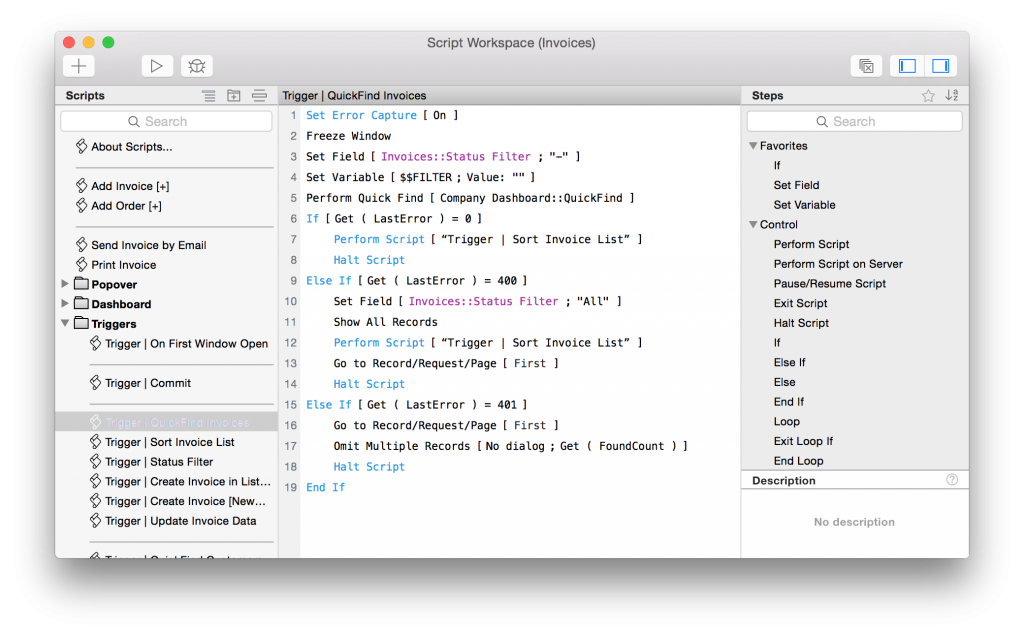
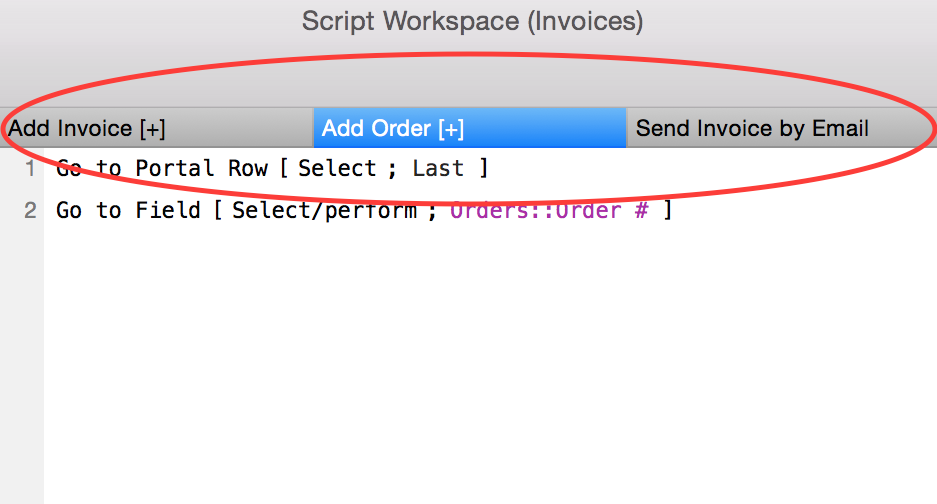
With all your scripting needs in one window, the Script Workspace increases your efficiency by reducing the number of windows you need to manage to create scripts. Instead of popping up a new window when you open a script, the Script Workspace will create a new tab above the scripting fabric (aka the white box where you add script steps). In other words, the Script Workspace supports a multiple-tab interface like a browser.
And just like a browser, you still have the option of opening a script in a new window instead of a new tab.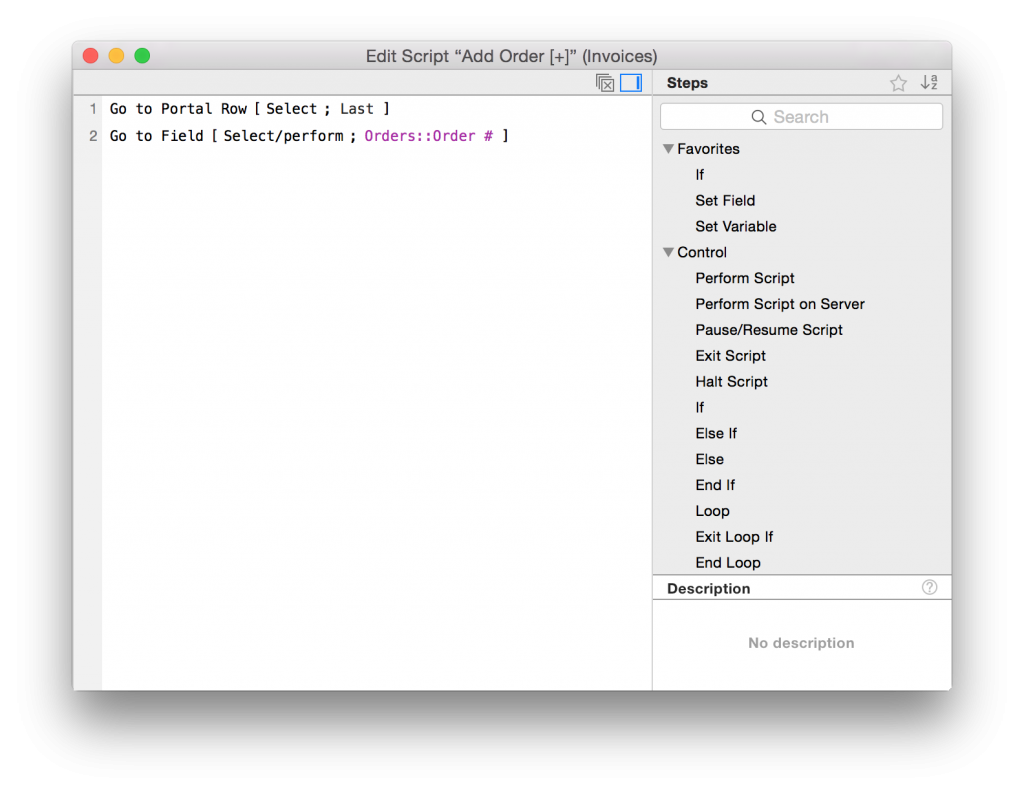
Notice, though, that this new window doesn’t have all the elements of the Script Workspace window. This design is intentional: FileMaker Inc. designed the Script Workspace so the overwhelming majority of your script writing is done in the main window. You should really only pop up new windows when you want to compare scripts side-by-side.
The other major structural change to the scripting environment, besides the tabbed interface, is the multiple panes that can be shown or hidden, and can be filtered so you can quickly find what you are looking for.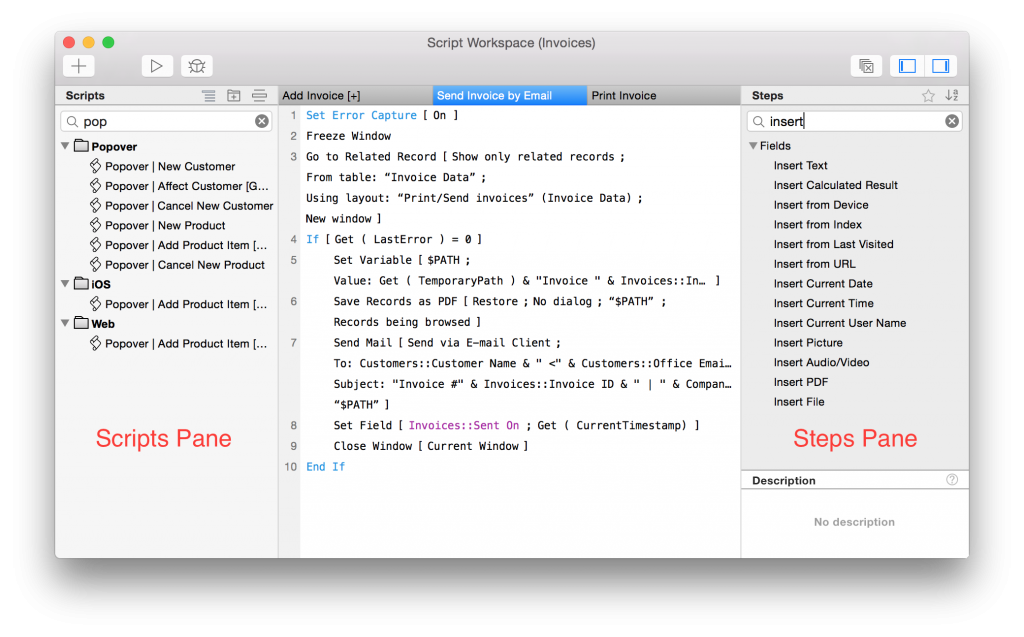
The scripting environment wasn’t the only place to get a UI uplift. The calculation dialog also has been redesigned into panes, one of which can be hidden, and both of which are filterable.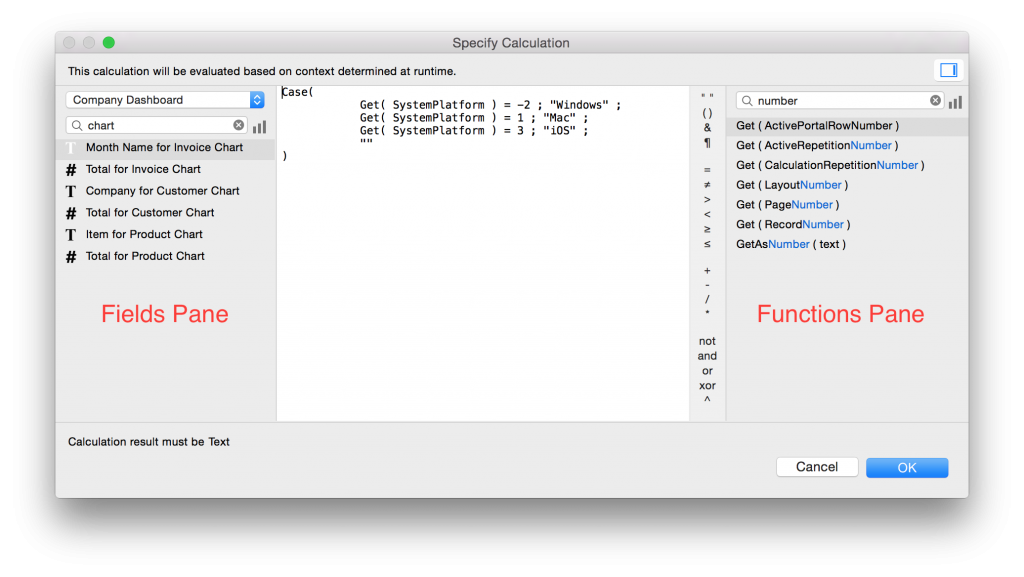
Step Autocompletion
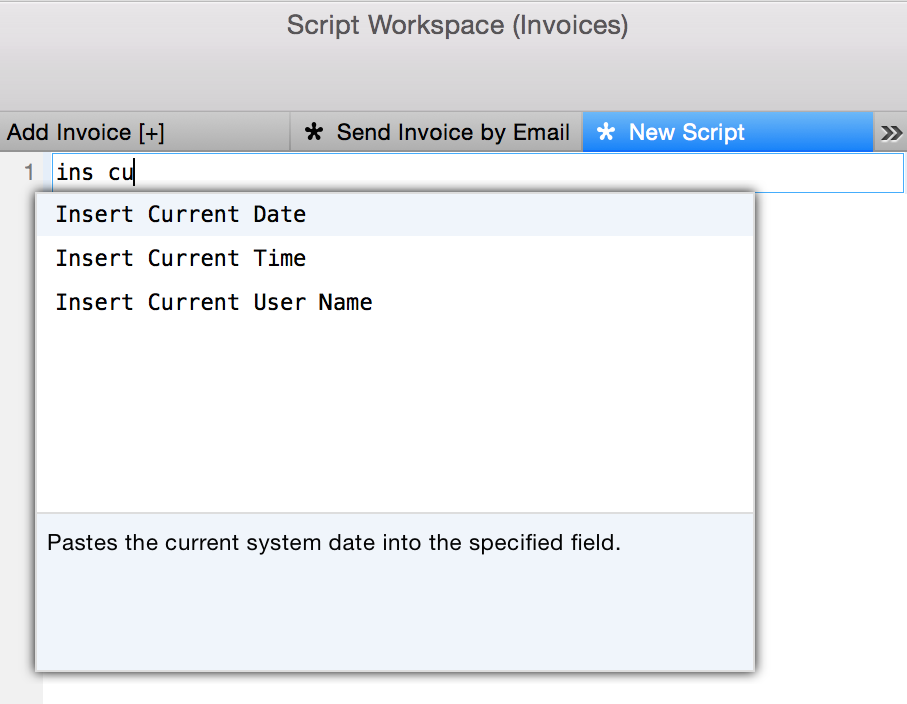
Autocompletion is without a doubt the most important new feature in Script Workspace: 80% of the productivity gains come from this one feature alone. When you add a new blank line to a script and begin typing, FileMaker will drop down a list of script steps containing words that begin with the letters you typed. For example, typing “ins cu” will match Insert Current Date, Insert Current Time, and Insert Current User Name.
To add one of these three steps to the script, use the up and down arrows on your keyboard to navigate between the steps, and then press enter or tab on your keyboard, or click on the step with your mouse.
Order matters when it comes to autocompletion. Typing “cu ins” will match nothing, as there are no steps with a word starting with “ins” after a word starting with “cu”.
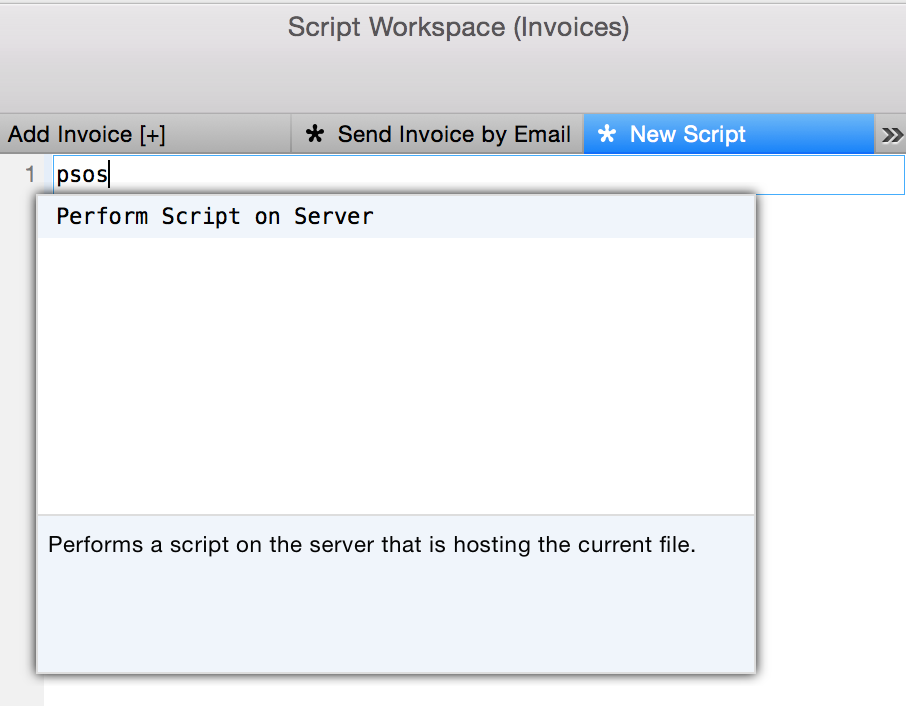
For the ultimate time saver, use acronyms to match script steps. One I’m sure will be popular amongst developers: psos, which matches Perform Script on Server.
To learn more, check out Ian’s article about acronym completion in the Script Workspace.
Calc Autocompletion
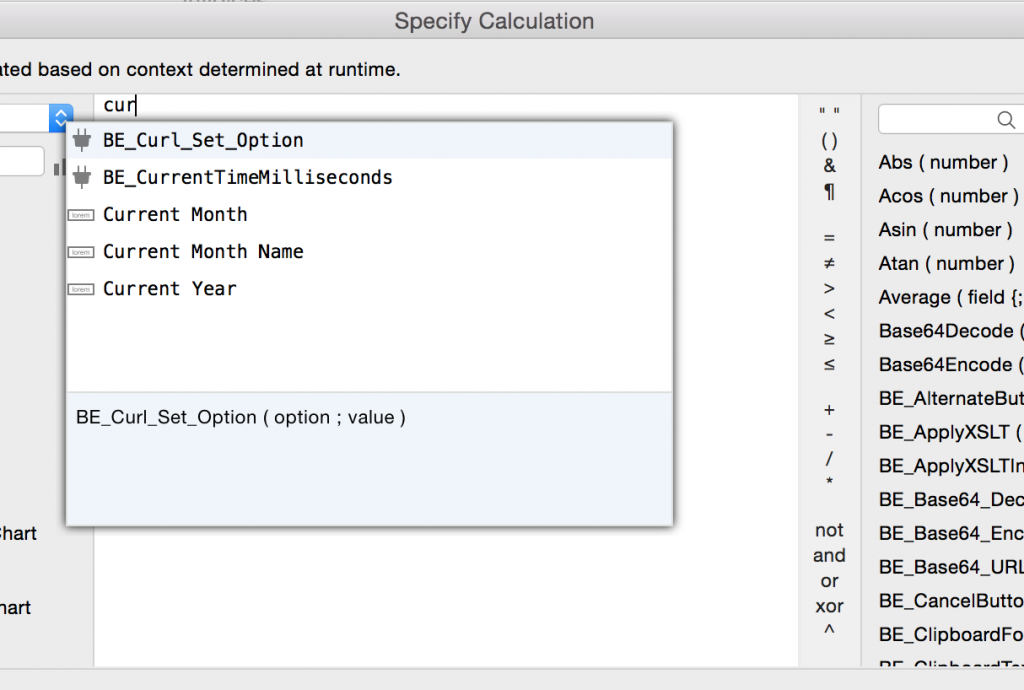
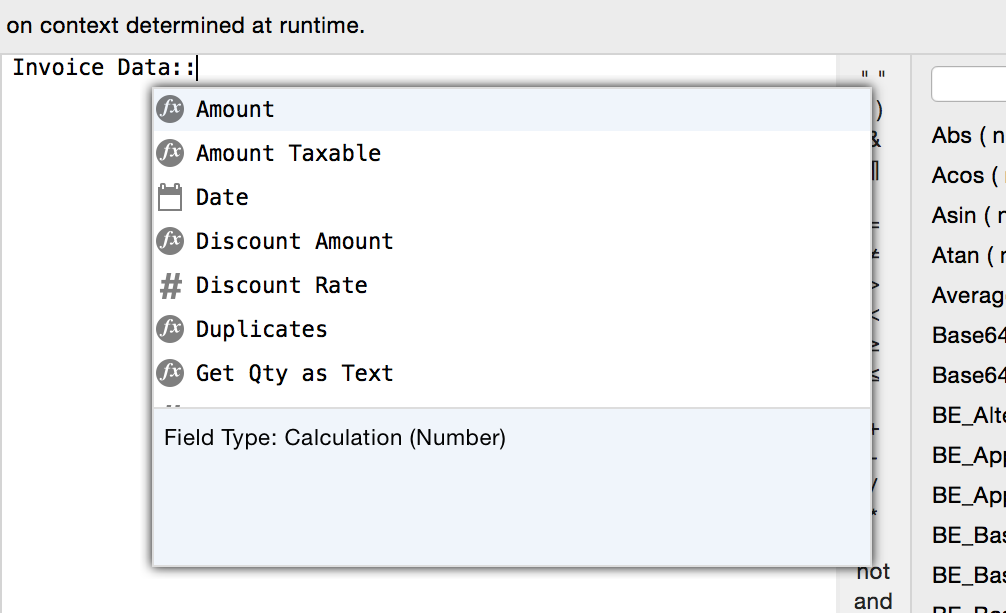
Autocompletion doesn’t stop with script steps: FileMaker Inc. took autocompletion to the next level by adding it to the calculation dialog. Calc autocompletion helps users quickly find functions, TOs and fields to add to a calculation.
By default, FileMaker only shows matching fields from the current table. If you want autocomplete to present fields from other tables, you need to first type the TO name (TOs are in the autocomplete list, so just type the 1st few letters until you find it), and then you can filter for fields in that table.
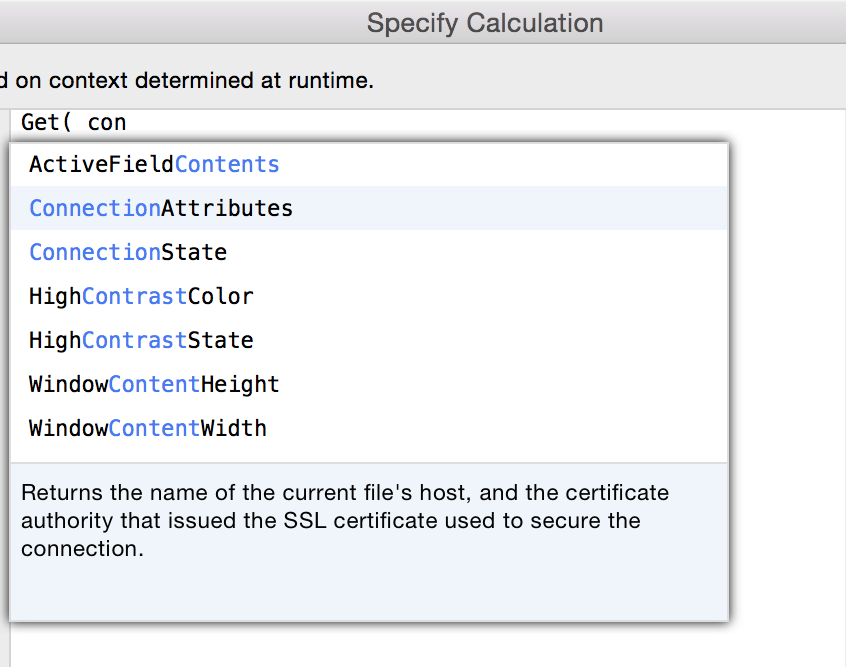
Get( ) functions don’t show up in the normal calc autocomplete. To force autocomplete to show Get parameters, you first need to type “Get(“. FileMaker will then present all parameters, allowing you to autocomplete them until you find the one you want.
Keyboard as a 1st Class Citizen
FileMaker has been well-known as a point-and-click development environment. While this makes the product easier to use for new users, it ultimately limits how efficient an experienced developer can be at writing code.
One of the goals of the Script Workspace is to minimize the reliance on the mouse, and maximize the time a user can be on the keyboard to write scripts. The script fabric, autocompletion, and the ability to open up script step parameters with the keyboard facilitate this goal.
Let’s start from the beginning. When you create a new script, the cursor is automatically put into the tab to name the script. Once you finish naming it, pressing tab will highlight the script fabric. Typing a letter will create a new blank line and immediately invoke autocompletion. Once you either filter down the autocompletion list to only a single step, or use your arrow keys to highlight the step you want to add, pressing tab will add the step. Let’s say we added Allow User Abort[ ]. The parameter for this step (on or off) is automatically highlighted. We can change it by pressing space or enter. Now that we’ve finished writing this step, we want to create a new blank line to add a new step. To do this, press tab to unhighlight the step parameter, and then press enter. You can now use autocomplete to add the next step.
Rinse and repeat the procedure above for the rest of the steps you need to add to the script. Notice we were able to do all of this with just the keyboard. No mouse needed!
Color Coding & Syntax Highlighting
To help improve the readability of scripts, the Script Workspace introduced step color coding and syntax highlighting, a very welcomed addition to the development experience.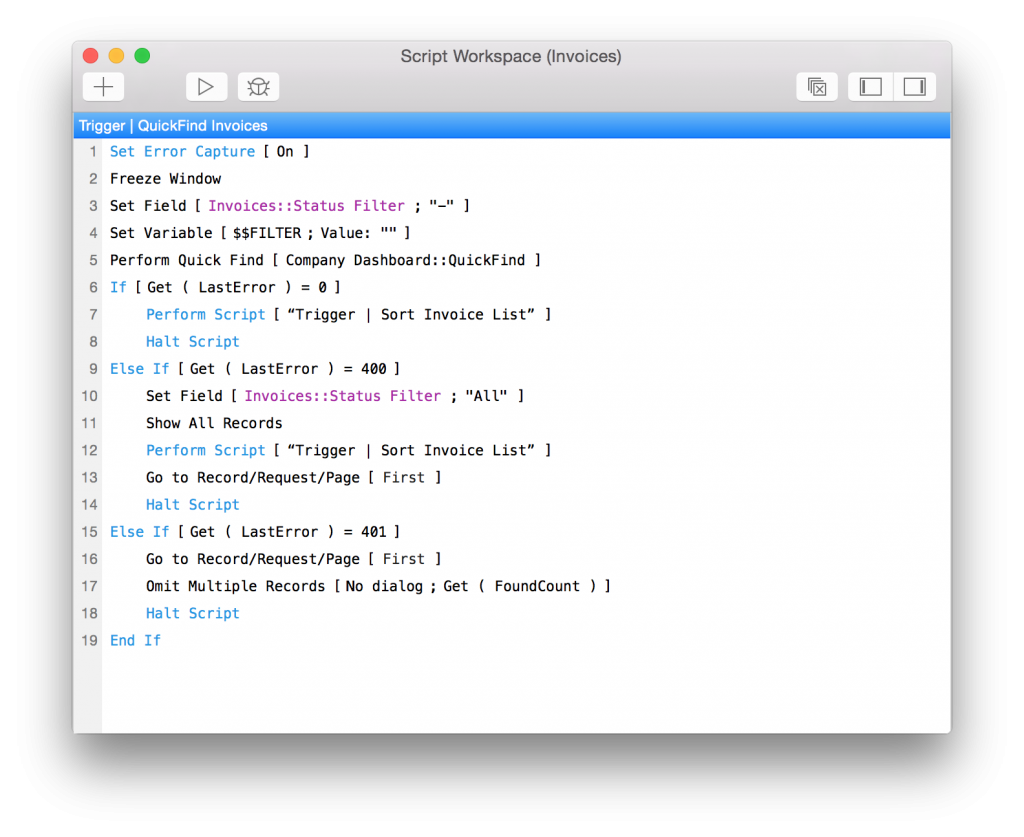
If the default colors don’t tickle your fancy, you can change them by going to View->Syntax Coloring. The settings will only apply to the Pro client you are currently working in.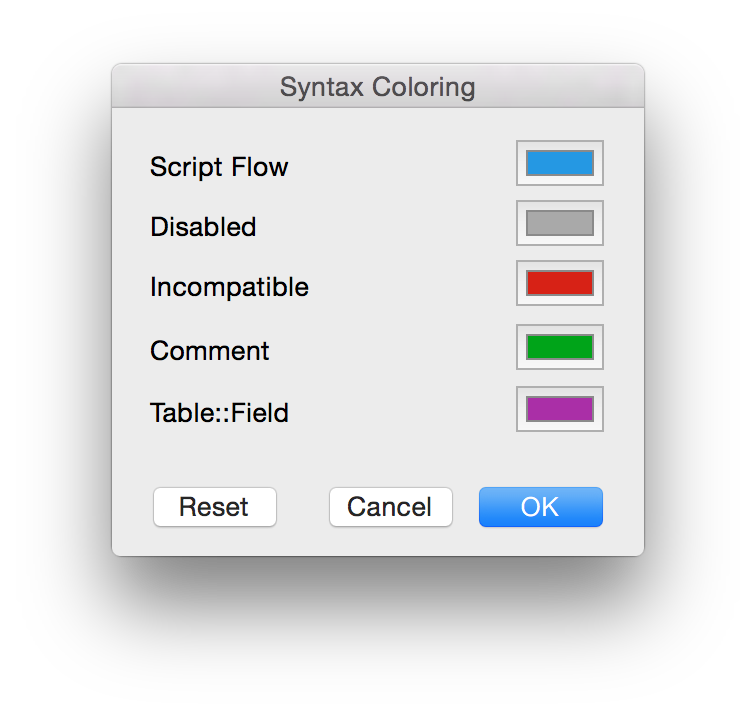
Inline Help
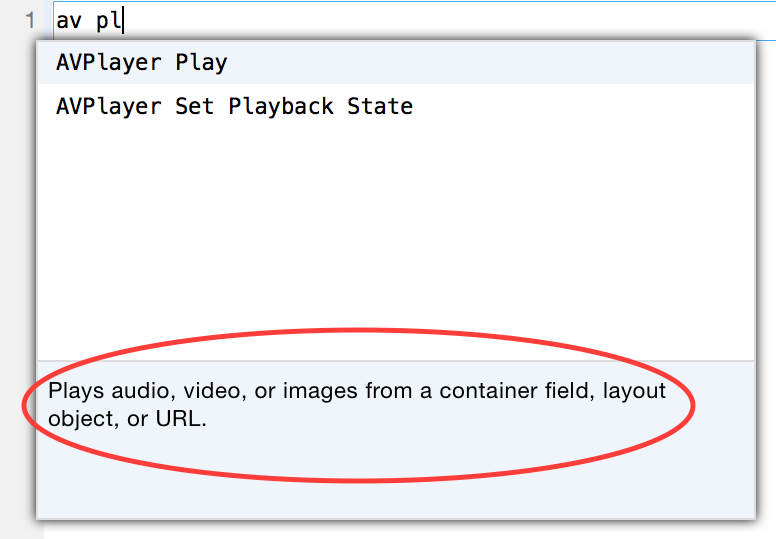
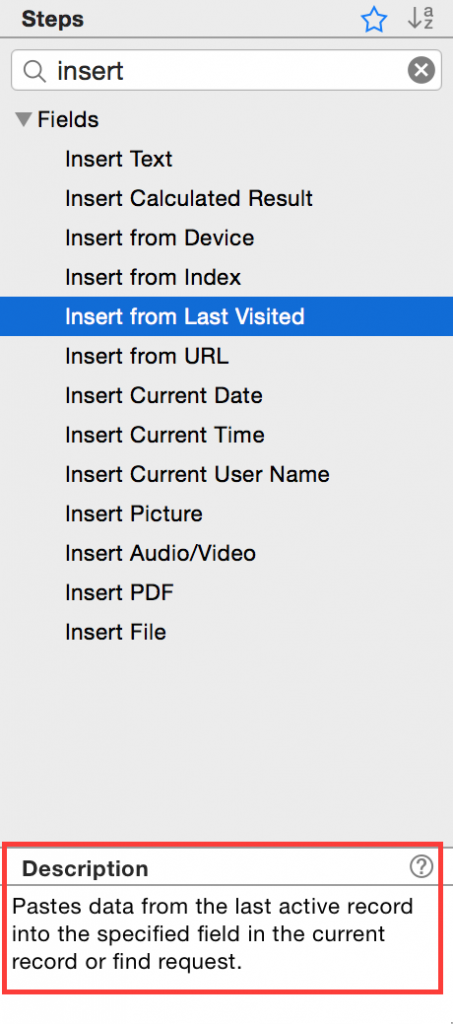
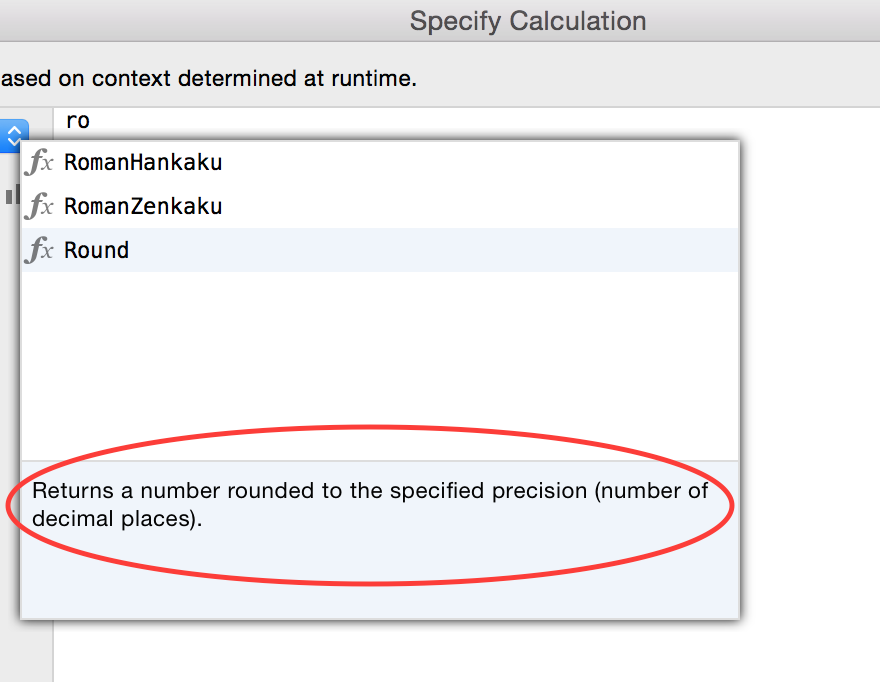
Gone are the days where developers need to hunt in Help Center for a description of what a script step does. Now when invoking step autocompletion, the highlighted step will show its description inline at the bottom of the autocomplete box, saving time and helping new developers learn steps faster.
There’s also a description box at the bottom of the step pane in the Script Workspace, that’ll show the description of the highlighted step in the pane.
If you need more information about a step, clicking on the little ? icon in the description box will take you directly to that step’s page in the Help Center.
And just like step autocompletion, there’s inline help in calc autocompletion.
Other Noteworthy Features
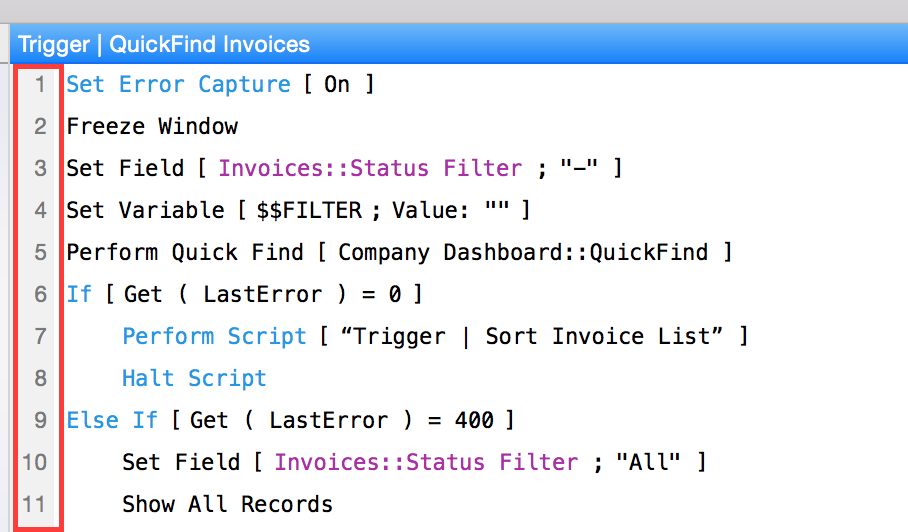
Line Numbers. The Script Workspace shows line numbers on the left side of the script fabric. Very useful for referencing a part of a script.
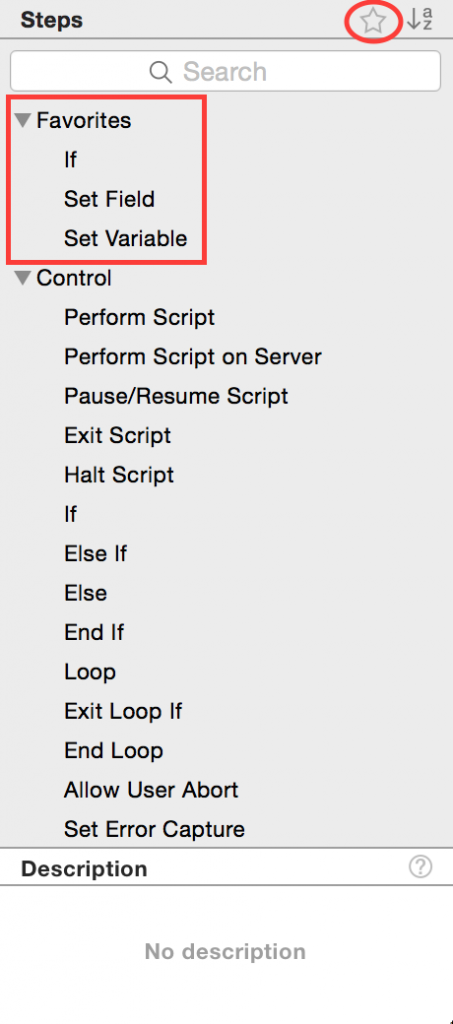
Favorites. You can favorite script steps so they show up at the top of the steps pane in the Script Workspace. Those of us who will use the mouse once and a while will enjoy this feature.
Debug Button. You can immediately debug the current script in Script Workspace via the new Debug button at the top left of the workspace window. Very nice time saver.

FileMaker 14: A Developer’s Release
FileMaker 14 will forever be remembered as the Script Workspace release, and with good reason: it fundamentally changes the way developers go about creating scripts and calculations. Not only does the Script Workspace make our lives easier, but it also makes the experience more enjoyable. I’m sure I speak for most developers when I say: Thank you FileMaker Inc!
Need help with the new Script Workspace? Contact our team at DB Services and would be happy to help.
Did you know we are an authorized reseller for Claris FileMaker Licensing?
Contact us to discuss upgrading your Claris FileMaker software.
